Planning on taking an old deck apart? Don’t let that lumber go to waste – repurpose it in to a beautiful, functional raised bed! Grab a friend, partner, or a four-legged companion (like our Great Dane buddies) and get to work!
Materials:
- Repurposed Lumber from Deck
- Tape Measure
- Circular Saw
- Hammer
- Nail Gun
- Electric Drill
- Screws
7 Easy Steps to Transform Your Old Deck into a Raised Bed:
1. Measure. Grab a tape measure and measure the length of each beam in the deck to figure out how big your raised bed can be.
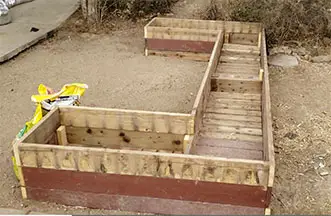
2. Hit the drawing board. Once you have your measurements, it’s time to draw a blueprint of your raised bed. What shape do you want? We chose a U-shape, but you may want an L-shape or a traditional rectangle shape. Next, grab the measurements that you just took – How tall is your raised bed going to be? Most raised beds are at least 6-12 inches deep. You may need to whip out some 9th grade geometry knowledge to figure this out. Luckily, we had a hand dandy contractor that was able to figure out the dimensions for us!3. It’s Demolition Time! It’s time to disassemble that deck. Slow and steady wins the race with this step. It’s best to take your time with disassembling, so you do not break the wood or injure yourself. The goal is to remove the wooden beams in one piece, so they can be used to make your beautiful raised bed!
4. Clean up. Decks can accumulate items like leaves, sticks, weeds, etc. Now is the time to rake all of that up to beautify the area around your future raised bed.
5. Assemble. Now it’s time to bring your blueprint vision to life! You may need to cut pieces of wood to fit the dimensions of your raised bed – this is where the saw comes in handy. We used a circular saw which made the task seamless and efficient. Screw the wooden beams into place, and voila! You now have a gorgeous raised bed.6. Fill with Soil. Head to your local home center or independent garden center and pick up the soil of your choice. It is best to use a soil that works well in raised beds, like Kellogg Garden Organics Raised Bed & Potting Mix. Not sure how much soil you will need? Have no fear – use our *link Soil Calculator* to find out exactly how much soil your raised bed needs!
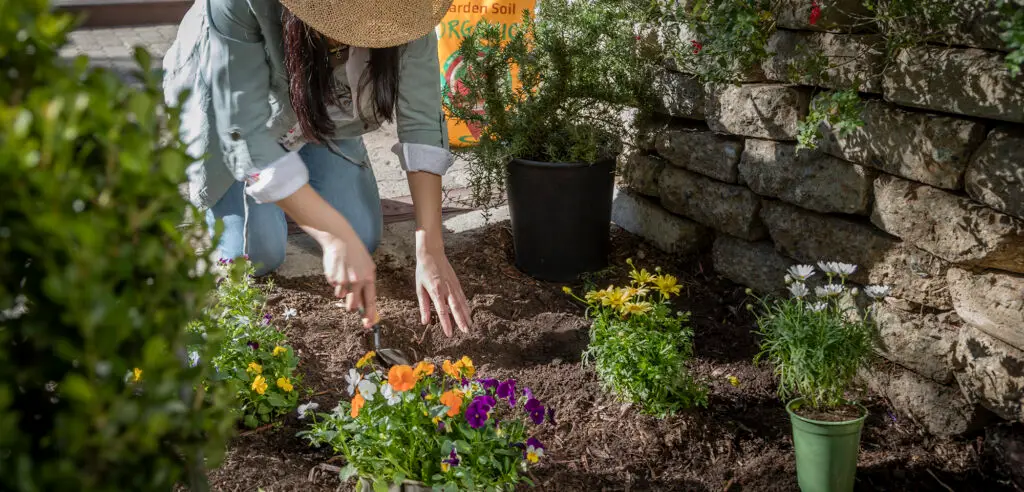
7. Plant It. Now for the fun part! It’s time to plant your raised bed. Head to your local nursery for some transplants (or find your favorite seeds) and fill your raised bed with garden goodness! Make sure to ask your nursery about companion planting to find out which plants should be planted next to each other and which plants should be planted far away from each other. Happy Gardening!
Fill ‘Em Up!
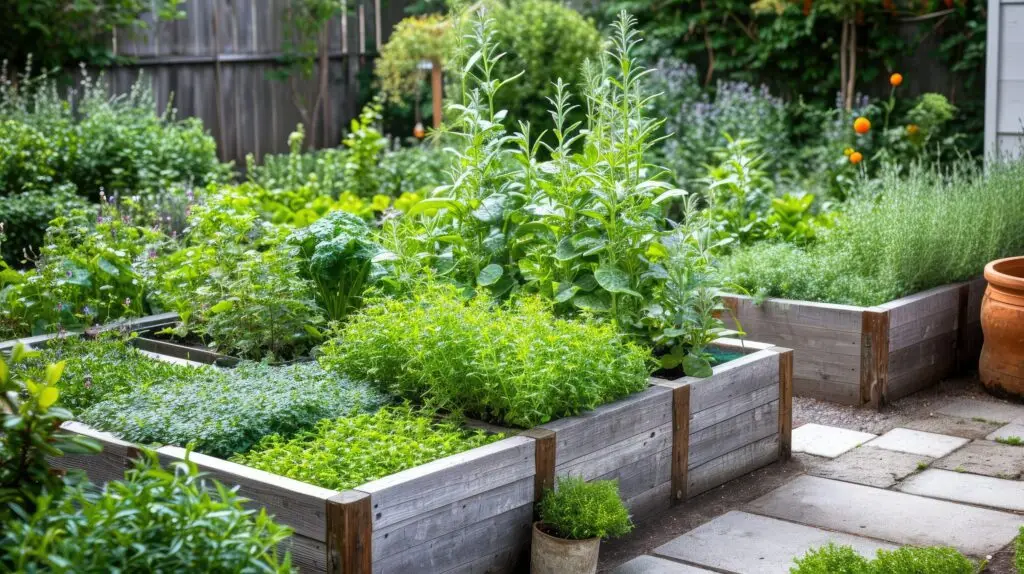
Once your beds are made it’s time to fill them up with goodness! Here are some great plants and products to get you started:
- Nasturtium
- Kale
- Chard
- Lettuce
- Calendula
- Sugar Snap Peas
- Rosemary
- Radishes
- Onions
Recommended products for these plants:
Soils
- Kellogg Garden Organics Raised Bed & Potting Mix
- G&B Organics Raised Bed & Potting Mix
- G&B Organics Purely Compost
Fertilizers
Kellogg Garden Organics:
G&B Organics:
Happy Gardening!