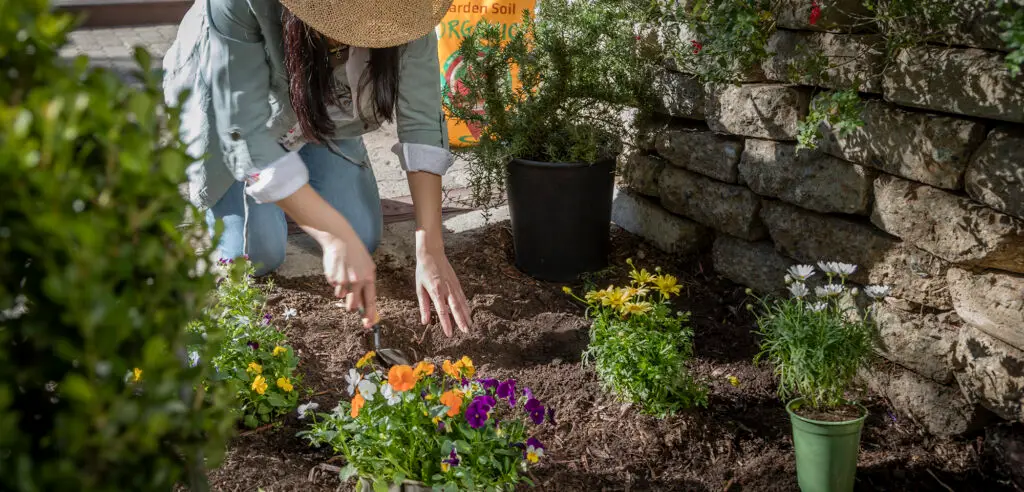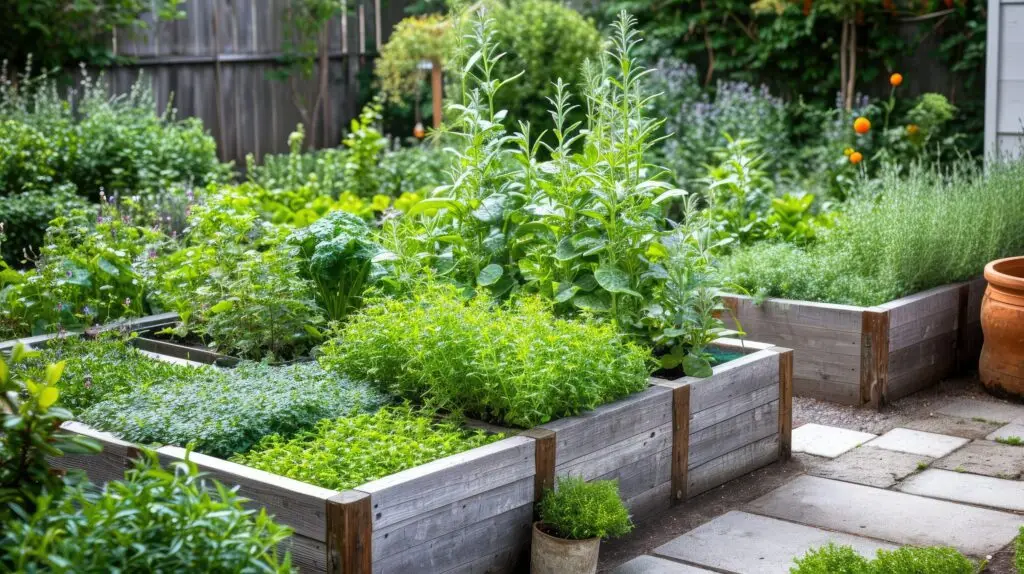
Wouldn’t it be amazing to grow organic fruits and veggies and then preserve them so you can enjoy your harvest year round? Well, you can — but what often stops gardeners from doing this is the fear of doing it improperly–as in, unsafely. But once you have the basics down, you can preserve your organic harvest with confidence and enjoy those tomatoes and peas to your heart’s content. While this article is not intended to be a definitive how-to on canning and preserving, we want to highlight the top safety tips for you. For complete recommendations, use the information from your recipe and those that come with your canning supplies.Follow the Can Directions Exactly: Canning and preserving is no place to wing it, so be sure you follow your recipe’s directions down to the letter. Failing to follow directions by deciding to improvise can lead to wasted food, and worse, upset stomachs, so please leave your improvising for other, more artistic endeavors.
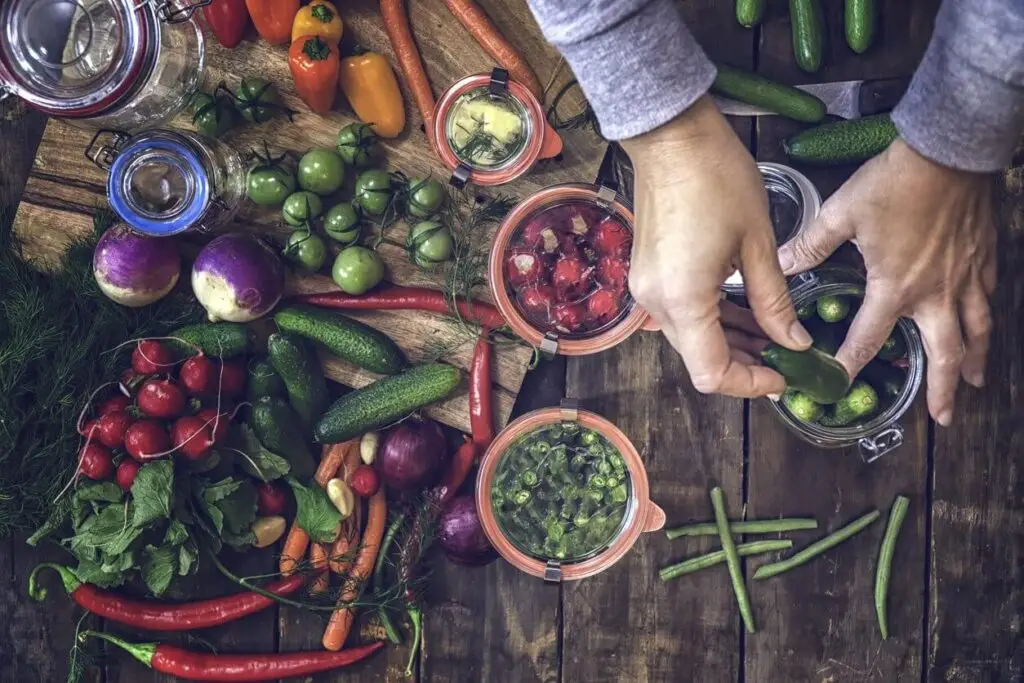
Use the Right Equipment: You’ll need mason-type jars with lids in two pieces — a flat metal disk with a rubber gasket rim and a screw-on metal band. Jars can be new or used, but should be in perfect condition without cracks or chips. Metal bands may be reused as long as they are rust-free, but the disks should be new each time to ensure a good seal.Sterilize: Jars and lids should be washed in hot, soapy water either by hand or in the dish washer. Lids and jars are also sterilized by submerging in boiling water for 10 minutes — use jar lifters to remove hot jars, and leave lids in the hot water until ready to use.
Fill & Cap: When adding your organic produce to jars, pay attention to the recipe’s “headspace” requirements. This is the amount of space between the top surface of the jar’s contents, and the lid. Too much headspace can cause the lid to seal incorrectly, leading to bacteria.
Heat properly. Are you getting used to us urging you to follow the directions? Canning uses heat to destroy any bacteria, mold, or yeast, and each recipe has specific requirements for how much heat to use and what type of canner is recommended. Read your recipe ahead of time to ensure that you have everything in place and understand the steps. About 24 hours after canning, test the lid to make sure the seal is airtight – press down on the lid and if it doesn’t “give,” you’re good to go. If it “gives” and springs back up, feel free to enjoy it ASAP, but don’t plan to store it long-term.Kellogg Garden OrganicsAll Natural Raised Bed and Planting Mix
**Product not available in AZ, CA, HI, NV, UT. For a comparable product in these states click here.