What is Worm Composting and How Do You Get Started?
Ever heard of worm composting? Or vermicomposting? It’s the same thing — using worms to create compost for your garden. It’s easy, inexpensive, and great for the garden.
The byproduct of worm composting are castings an organic form of fertilizer produced from earthworm poop. As earthworms feed on your organic waste they turn those kitchen scrapes into worm castings aka black gold for the soil. Worm manure helps aerates the soil, provides beneficial nutrients, and is also effective for repelling many pests.
Are you ready to get going?
Follow this step-by-step worm composting guide to get started — it’s like an organic garbage disposal, with your garden as the winner.
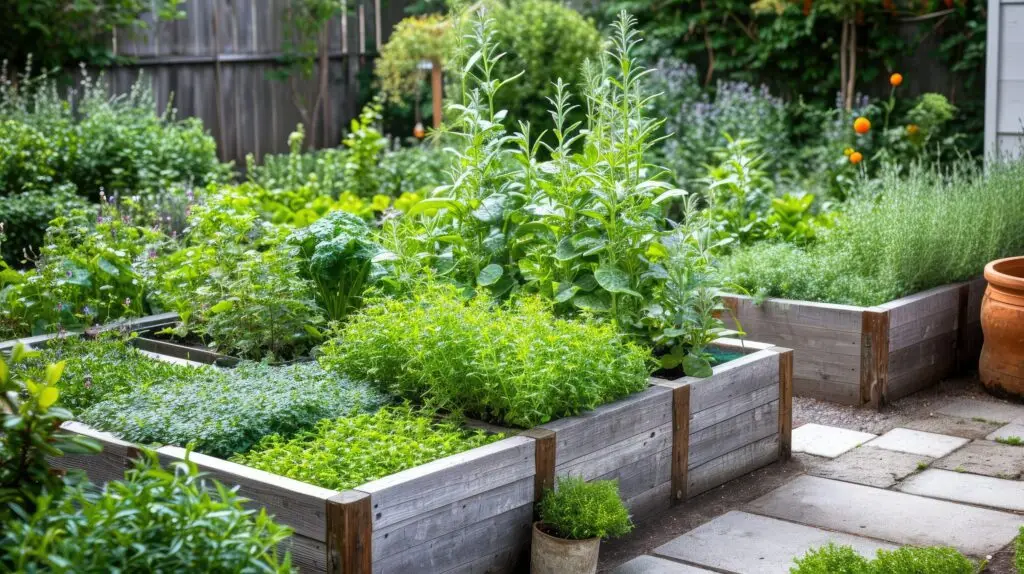
Worm Composting In Raised Beds
In this video, Bridget Ayers, a backyard gardener in Southern California – Zone 10b, shows us how she is experimenting with worm composting in her raised garden beds.
Whether your garden is big or small, make the most of your space with these tips and watch the full Worm Composting in Raised Beds video on the Kellogg Garden Youtube Channel.https://www.youtube.com/watch?v=nAu7VjPFQXc1. Choose your container. Wood or plastic works well, but to make is super simple, reach for one of those large plastic storage containers with a lid. You’ll need one that is 8-12 inches deep (plastic sweater storage containers are great). You can also find ready-made worm bins online or at a specialty garden center.
2. Order your worms. Plan on two pounds of redworms (about 2,000 worms) for every pound per day of food waste. If you’re not sure how much food waste your household produces, track it for a week and divide that number by seven. Worms can be ordered online after doing a quick Internet search.
3. Decide on the container location. Redworms prefer temps of 55-77 degrees, so a cool garage or enclosed porch could be ideal. Also, it’s interesting to note that worms are kind of like people in that they don’t like a lot of excess noise and vibration, so avoid putting the bin in high traffic areas.4. Prepare the bedding. Soak a large amount of shredded newspaper in water, and then wring it out so it’s moist rather than dripping wet. Place it all in the bin until the container is 1/3 to ½ full. Add a bit of sawdust, fine sand, or ground eggshells to the newspaper so the worms have something gritty to help them grind up the paper.
5. Add the worms. Dig down to the middle of the bedding and place your worms in that space. Cover the bin and set it aside for about a week for the worms to settle in.
6. Add kitchen scraps. After the first week, add kitchen scraps like fruit and veggie peels, crushed eggshells, tea bags, and coffee grounds. Avoid meat and dairy. Add just a small amount once a week — if you add more kitchen waste than the worms can process, you’ll end up with a stinky garbage bin.Kellogg Garden OrganicsAll Natural Raised Bed & Potting Mix
**Product not available in AZ, CA, HI, NV, UT. For a comparable product in these states click here.7. Monitor the worm bin. If the bedding looks dry, mist it with some water. If it’s too wet, add dry newspaper strips to absorb the excess moisture. Other than that, sit back and let the worms do their thing.
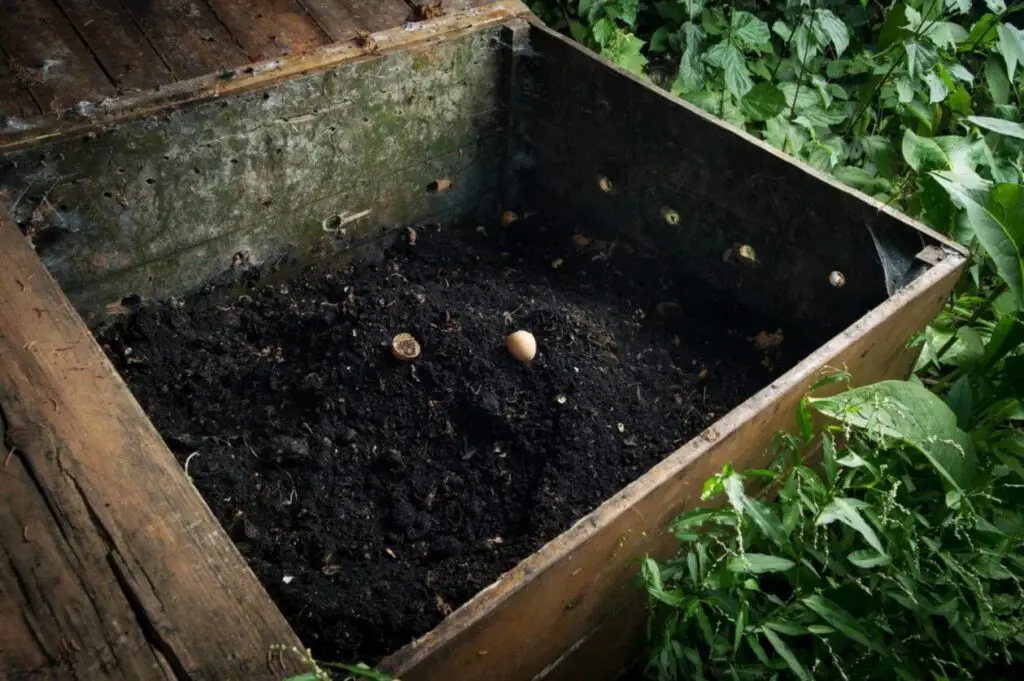
8. Harvest worm castings. Once the bedding starts to disappear and the contents of the bin look more like soil (about 1 ½ to 6 months), it’s time to harvest. To harvest, push the bin’s contents (compost, partially composted materials, and worms) to one side of the bin. Pick out the partially composted materials and place them on the empty side of the bin, and add more kitchen scraps on top. Replace the bin cover and leave alone for a couple of weeks. The worms will migrate over to the new food, leaving the fresh compost for you to take and use in your garden.
Vermicomposting Update: Worm Composting in Raised Beds
In this video follow along with Bridget Ayers, a backyard gardener in Zone 10b, as she gives us an update on how worm composting in raised beds has handled the summer heat.
Whether your garden is big or small, make the most of your space with these tips and watch the full Vermicomposting Update: Worm Composting in Raised Beds video on the Kellogg Garden Youtube Channel.https://www.youtube.com/watch?v=I8uogdlT3Kw